Entrepreneurship Garage Tutorial: 3D-Printed Room Status Sliding Sign
Looking to try your hand at 3D printing, but unsure where to start? Intrigued by the shiny new Ultimaker printers in the Entrepreneurship Garage, but intimidated by the new interface? This tutorial is for you!
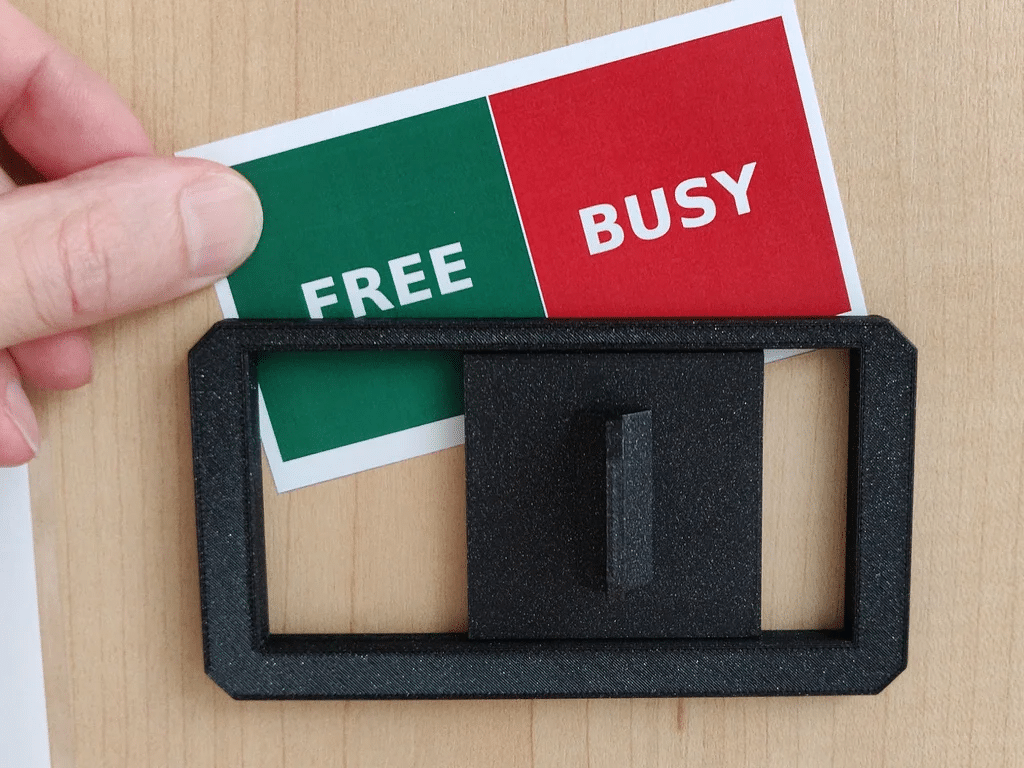
NC State’s Entrepreneurship Garage holds a wealth of rapid prototyping equipment free for students to use. In this entry-level tutorial, we’ll learn how to use the Ultimaker S3, an industrial-grade 3D printer, by creating a basic free/busy door indicator. The model and design will be sourced from the excellent Thingiverse model database. No previous experience is required!
Check out a video version of this tutorial here.
Prerequisites
- Become a member of the Entrepreneurship Garage: Membership is simple, 100% remote, and self-paced! More information can be found here on how NC State students can become members.
- Reserve either 3D printing station to your name via the Coworks App. The printing process should take no more than 2 hours if this guide is followed.
Getting Started
- At the 3D printer workstation, log in to the laptop using your own Unity ID and password.
- Once the desktop appears, wait until the Equipment Use form pops up on the screen. If it doesn’t appear automatically, click on the Equipment Use form link on the desktop to open it in the browser.
- Fill out the Equipment Use form and close it when you’re finished.
- In the web browser, navigate to https://www.thingiverse.com/thing:4374913 and check out the page.Note the following key elements:
- “Download All Files” button: you can get all of the data you need to print the given object from this location.
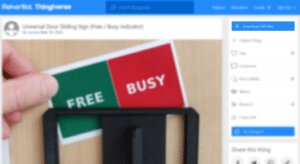
- Summary and Comments: you can check out printing and assembly notes from the designer as well as reviews from other users in this area.
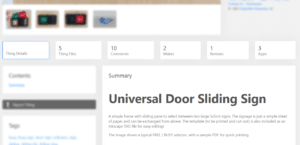
- “Download All Files” button: you can get all of the data you need to print the given object from this location.
- Click the “Download All Files” button and extract the zip archive in your Downloads folder.
- Within the “files” directory of the downloaded archive, there should be a file named
universal-door-slider.stl. Take note of this file’s location.
Preparing the Ultimaker
- Go around to the backside of the Ultimaker S3. Check the following:
- Is there enough filament in the spool mounted to the back of the machine? Ask the staff member on duty if you are unsure or if the spool looks low.
- Is the Ultimaker turned on? The switch in the bottom-right corner of the machine should be switched to the “1” position. If it wasn’t turned on, flip that switch and wait for about one minute. The interior of the machine will be lit with bright white lights (not pulsing) when the machine is ready.Look at the following images for reference:
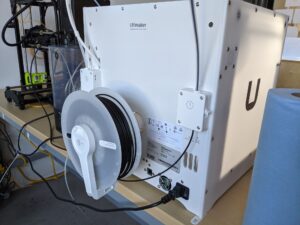
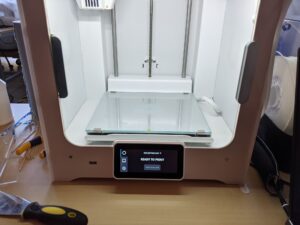 Note that the switch is next to the power plug on the rear of the machine, and the touch panel on the front states “Ready To Print.”
- In the Windows start menu, search for “Ultimaker.” The following program should appear:
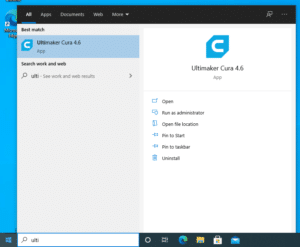 Open that program.
 - Click the folder icon in the upper-left-hand corner and open the STL file downloaded in the previous section.
- Once open, you should see the two parts of the slider rendered on the screen. Dragging the mouse with the right mouse button pressed should allow you to view the model from different angles.
- To the right of the folder icon is the printer to which the job will be sent. Make sure that the printer name matches the name listed on the Ultimaker’s touchscreen interface, and that the printer icon in the Cura software has a blue checkmark next to it. If either of these conditions are not true, you may have to reconnect the software to the printer. Ask the staff member on duty for assistance.
- On the far-right hand side of the top bar is a section that lists several settings and icons (see the picture for details). Click on this section.
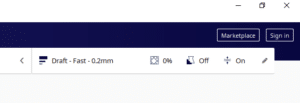
- In the dialog that appears, click on the only dark dot next to the “draft” preset label. This choice will optimize the job for speed, so that we can quickly tell if we were successful.
- Once all of the configuration has been completed, click on the “Slice” button in the lower-right hand corner. After the software has finished processing the job, the window should now look like this:
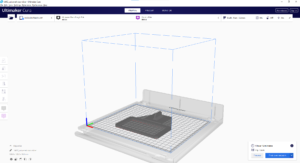 If the lower-right hand corner does not have a “print over network” button, you may not be connected to the printer. Ask the staff member on duty for assistance reconnecting the printer.
 - The time estimate should be somewhere between 1 and 1.5 hours. Ensure that you have reserved enough time in Coworks for the print to complete and for you to clean the space afterward!
- Once you are ready, click the “Print over network” button to begin the print!
Monitoring & Finishing
- The print will take a while! Remember that Garage policy requires you to be physically present at all times during the printing process. If you must leave, ask the staff member on duty to watch over your print for you.Get some homework done, play a game, or simply enjoy watching your model slowly come to life!
- The printer light will begin slowly pulsing and the touchscreen will alert you when the print is done, cooled, and ready to remove.
- Open the front door of the Ultimaker.
- Unhook the two metal latches holding the glass print bed in place.
- Slowly pull the glass print bed straight out of the printer with a horizontal motion (parallel to the floor).
Do not lift the print bed vertically.
Do not attempt to remove your model while the print bed is in the machine.
- Once the print bed is removed, use your hands and the scraping tools at your workstation to remove your model. The model will likely be stuck pretty tightly to the glass print bed: that is okay and expected! Patience and strength are sufficient to detach even the most ornery prints. If you need assistance, ask the staff member on duty.
- Once your model has been detached from the print bed, use a moist paper towel to wipe down the glass of the print bed. Ensure that all residue is removed.
- Re-insert the print bed into the Ultimaker, and lock both of the metal hinges into place.
- Close the front Ultimaker door, and use the touchscreen to verify that you have removed your print.
Cleaning Up
- Close out of all programs on the computer and log off.
- Don’t worry about turning off the Ultimaker. A staff member powers these down at the end of each day.
- Use the disinfectant and paper towels at your station to wipe down all touched surfaces:
- Keyboard
- Ultimaker door
- Tabletop
- Chair
- Dispose of any excess material in the trash can near the exit door of the space.
- Exit out of the exit door (next to the garage bay door) and enjoy your new print!
Conclusion
3D printers are versatile tools for both functional prototyping and small-scale production of ideas. The Entrepreneurship Garage is proud to offer modern equipment and quality training that empowers students to see their dreams realized.
On behalf of the Garage staff, I look forward to seeing you visit the space and try your hand at 3D printing! We are excited and eager to help you make something never seen before.
- Categories: