Entrepreneurship Garage Tutorial: 3D Printed No-Touch Door Handle
You may have noticed the shiny new white boxes at the Entrepreneurship Garage 3d printing stations recently. These are the new Ultimaker S3 3d printers. These printers offer higher quality prints in less time with easy-to-use interfaces. While these machines are surely capable, we know that new equipment can be intimidating especially for new members at the Garage. So, whether this is your first print, or you are a seasoned printing pro, this tutorial is for you. Let’s go from design to completion with the Ultimaker S3.
Prerequisites
- Become a member of the Entrepreneurship Garage: Membership is simple, 100% remote, and self-paced! More information can be found here on how NC State students can become members.
- Reserve either 3D printing station to your name via the Coworks App.
Getting Started
Today we will be printing a no touch door handle that I designed. This door handle is designed to be compatible with the doors in the Garage in order to mitigate the spread of the coronavirus. Once you model design is complete you will need to save your design to an STL file. I used Fusion 360 for my project but any other CAD software should work. Just be sure to save it to an STL.
Download the files I designed here:

File Setup
Once you have the STL file saved on your personal computer it is time to transfer it to the shop computer. First, log on to the shop computer using your Unity ID credentials. Be sure to complete the Equipment Use Form that is automatically displayed upon login. There are many ways to transfer your STL file to the shop computer. I have found the easiest way is by email. Log into your NCSU email on the shop computer and send the files to yourself from your personal device. Once you have received your STL file on the shop computer go ahead and download it. Another method of performing this operation is by USB flash drive transfer. Be sure to make a note of the location within the computer where you saved your files.

Now that the STL files are saved on the shop computer it is time to open Cura so that we can feed our files to the machine. Navigate to the desktop home screen and click the icon labeled Cura for Ultimaker. Do not confuse this with the green colored Cura program designed for the Lulzbot printers. Once you have the correct Cura software open your screen should appear as below. To import you files into Cura click the folder icon in the upper left hand corner of the screen. This will open the file explorer. Navigate to the location where you saved the STL file and double click on it. This should insert the STL file into the Cura interface.

Sometimes students run into an error where their file doesn’t seem to appear, or it appears within the software but is much smaller than it should be. If this is the case it’s most likely because you designed your part in inches but Cura’s default units are millimeters. Luckily, there is an easy fix for this. First attempt to zoom in on the small version of you part and click on it. Once selected, red, green and blue arrows should appear around it to indicate its orientation. Next navigate to the tool bar on the left side of the screen and select the scaling option (second button down from the top.) Here choose any one of the axis and type “2540” into the box with the percentage sign. Make sure the “Uniform Scaling” check box is also selected. This should apply a conversion factor of 25.4 to your inch units converting them to millimeters.


Now that your model is properly sized and oriented, we can look at print settings. Changing the print settings can help us reduce the time it takes to print our project. The options for editing print settings can be found in the upper right hand toolbar of Cura. For faster prints use the Draft Fast – 0.2mm mode. Be sure the Draft slider button is highlighted blue. If you want to decrease the print time further try adjusting the infill with the slider button. 10% to 40% infill is generally recommended. Be sure to note that while reducing infill percentage will decrease print time, it will come at the expense of reduced structural strength within you part.

Preparing the Ultimaker
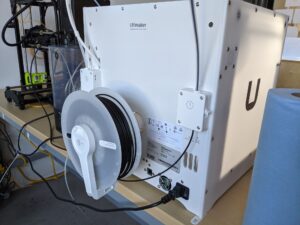
- Go around to the backside of the Ultimaker S3. Check the following:
- Is there enough filament in the spool mounted to the back of the machine? Ask the staff member on duty if you are unsure or if the spool looks low.
- Is the Ultimaker turned on? The switch in the bottom-right corner of the machine should be switched to the “1” position. If it wasn’t turned on, flip that switch and wait for about one minute. The interior of the machine will be lit with bright white lights (not pulsing) when the machine is ready.Look at the following images for reference:
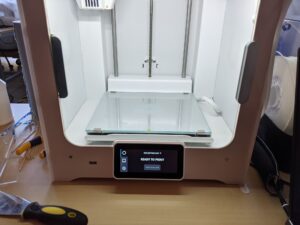
- Note that the switch is next to the power plug on the rear of the machine, and the touch panel on the front states “Ready To Print.”
Printing
Now that our print settings are properly updated, let’s run through our final checks before we commence the print.
- Ensure that the Cura software is wirelessly connected to the printer. You can verify this by confirming there is a blue checkmark beside the printer’s name in the upper left-hand corner of Cura, near the folder icon you used earlier. If this check mark is not present, ask the Garage supervisor for assistance.
- Ensure the material selected in Cura matches the material loaded in the printer. For this print we are only using extruder number 1 with Generic 2.85 mm PLA. If the wrong material is loaded, or the printer is out of material, one of the Garage staff would be happy to assist you.
- Once all these steps are complete, we are ready to start the print!
- Hit the blue button labeled “Slice” in the lower right-hand corner of Cura.
- Once the slicing process is complete you are ready to send the instructions to the printer and the blue button at the lower left will now read “Print Over Network”. Make sure the glass printer door is closed and hit that button. Your print should begin!
- You should receive confirmation on the printer touch screen that your print is in progress.
Remember that Garage policy states that your print must be supervised at all times. If for some reason you need to leave your print for a short time, be sure to let a Garage staff member know so that they can watch the print while you’re gone.
Monitoring & Finishing
After a little waiting you print is finally ready to be removed.
- Be sure to have confirmation from the printer that the print is complete before removing. This is indicated by a green check mark along with the message “Finished Printing” on the printer screen.

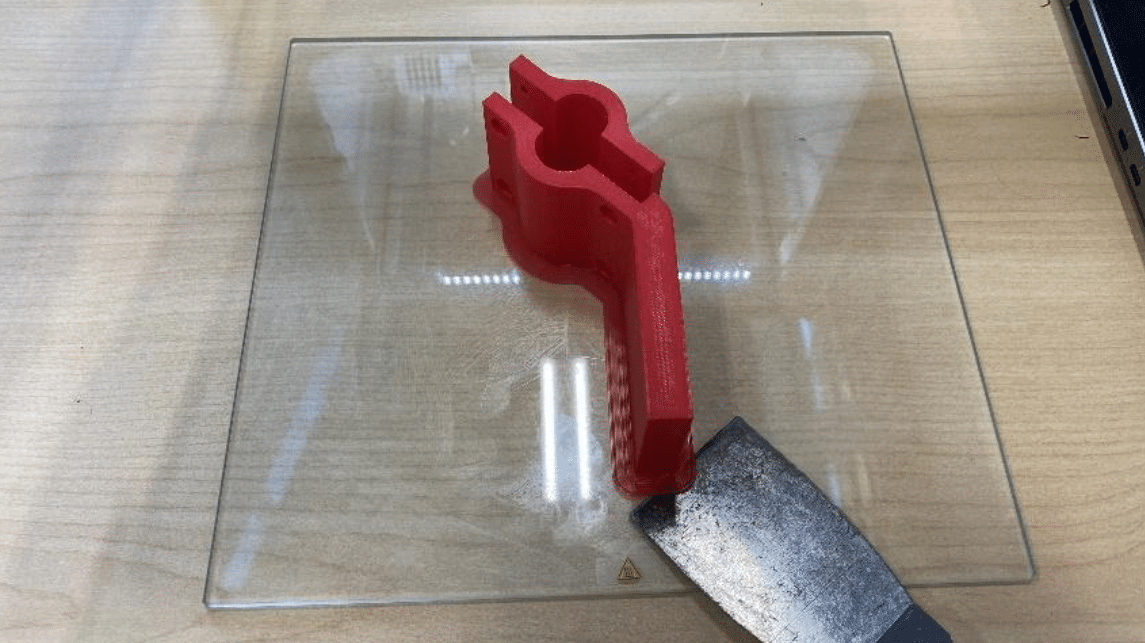
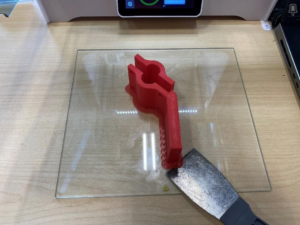
- At this point, open the door and carefully remove the glass build plate by opening the metal corner latches. The build plate will be warm to the touch.

- After setting the build plate securely on the tabletop use one of the scrapers located at the workstation to remove your part from the build plate.
You may now carefully return the glass build plate to its original position in the printer and hit the button on the screen labeled “Confirm Removal” to return the printer to resting state.
Finally use the cutter tool to remove any excess material such as a brim or supports from your part.

Cleaning Up
Your part is now good to go! Be sure to return all tools back to their original position and try your best to leave the workstation in better shape than you found it.
Conclusion
We hope this tutorial was beneficial as you explore new equipment. If you have any questions at all remember Garage staff are here for you! Please don’t hesitate to ask for help. Happy printing!
- Categories: